|
Pipes that (Usually) Freeze First
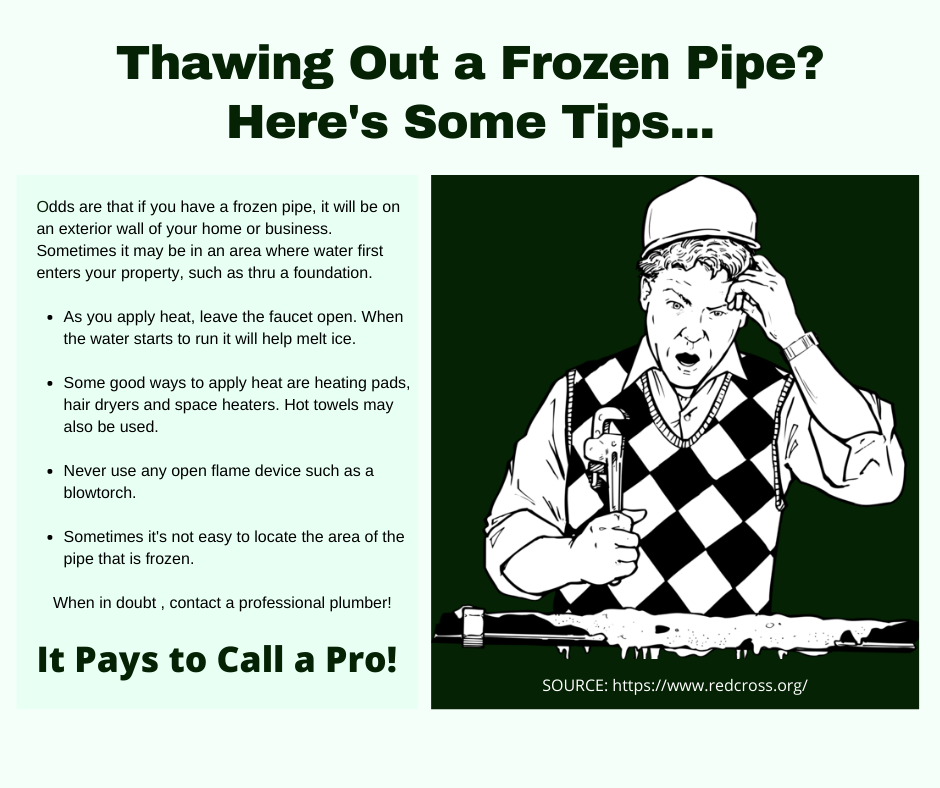
When pipes freeze, they create havoc that is time consuming and expensive. Your home is full of all kinds of pipes, including fresh water pipes that supply your bathrooms, kitchen, laundry room, and more. These fresh water pipes are under pressure, and if they freeze up, they can burst and create a huge mess that must be cleaned up quickly. You might have heard some say that hot water freezes faster than cold water. If you do a quick Google search, you will see all types of references to this topic. You might have seen videos of people throwing hot water up in freezing air and it freezes instantly, creating ice crystals. But no matter what you personally believe, one thing is accepted as true among many disaster restoration professionals: Hot water pipes freeze and break faster than cold water pipes. This statement isn’t based simply on water temperature. It’s based on the makeup of the water, and some studies show that hot water contains more dissolved gasses, and those chemical particles crystalize first. Many restoration professionals will tell you that they have been on many water damage jobs where the hot water pipe was broken and spraying water, while the cold water pipe was fine. And at the same time, many have experienced hot water spigots doing nothing while their cold water companions, just within inches of each other, work just fine. There are many articles about what is called the “Mpemba” effect, that warm water freezes faster than cold water. While it makes for interesting reading, the main takeaway for you is to make sure that no pipes in your home ever freeze. You can do this with some planning. The best solution is to make sure your pipes are wrapped with heat tape or insulation, combined with ensuring no cold drafts are allowed into walls or cavities in your home. Another preventive step to take is when the temperatures really dip into the sub-zero range, and especially if you have had pipes freeze in the past, consider allowing them to drip during extended times of not being used. Yes, this will run up your water bill a bit, but it is definitely cheaper than a devastating pipe break and resulting flooding. But if the unthinkable does occur, and a pipe breaks and damages your home, do the right thing. Call your favorite disaster restoration company. After all, it pays to call a pro! The Tenacity of Soap Scum
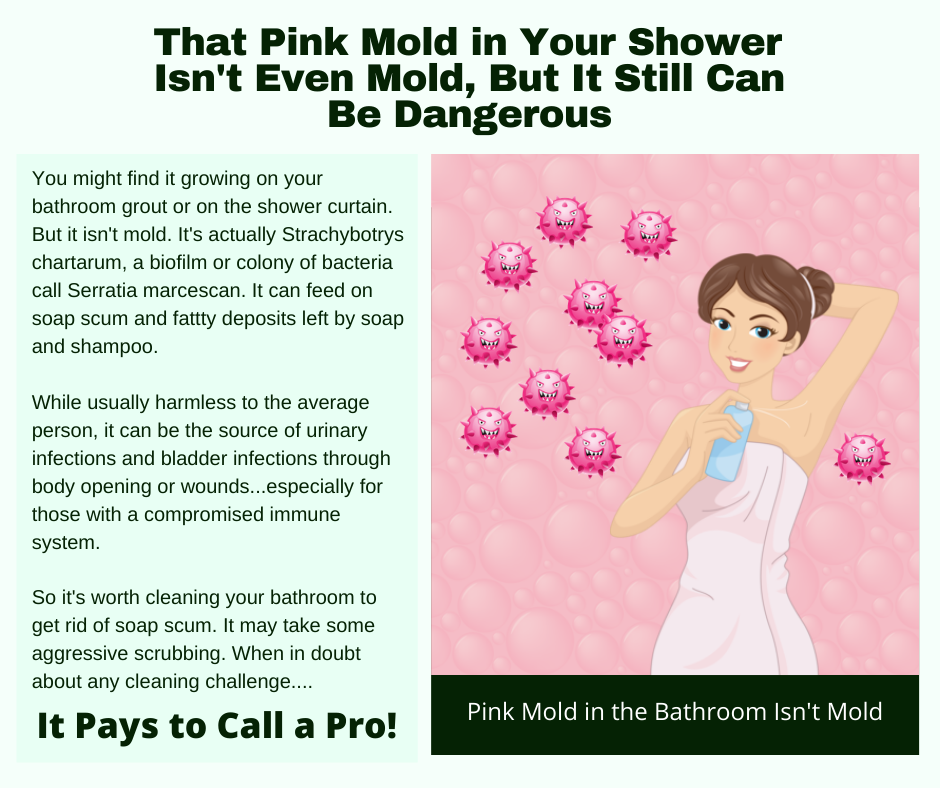
Soap scum is an irritating by-product of cleaning, especially in tubs, showers, and sinks. It’s ironic that a product you use to clean with creates problems on surfaces. And besides just soap buildup, what’s encased in the soap scum includes body oil, dead skin, bacteria, dirt, and more. This is why you may notice a foul odor as the soap scum gets thicker over time. Using liquid soap instead of bar soap will hinder soap scum buildup, because bar soap contains products that tend to create a film. Wiping down surfaces in your tub, shower, and sinks after you use them also helps. And there are specialty products you can mist onto surfaces routinely that will hinder the buildup of film. But when soap scum strikes, here are a few easy steps to follow to remove it. Mix up equal amounts warm water and white vinegar and add a small amount (just a drop) of dish detergent. Use a spray bottle and liberally apply to the soap scum, give the solution several minutes to work, and wipe it off. Keep repeating until the soap scum is gone. The small amount of dish detergent acts as a surfactant and penetrates the soap scum, and the water/vinegar mix helps break down the elements that created the scum. Mixing up a paste of baking soda and vinegar also works. Use about a half cup of baking soda in a small bowl, add just enough white vinegar until it becomes a paste. It will fizz for a while, and once it is done fizzing, apply to the areas you wish to treat. This is especially effective in areas such as where you leave a bar of soap and the scum is really thick. There are some cleaning products you can purchase at your favorite department store that also work on soap scum. They are applied directly to the surface and bubble and fizz and make removal much easier. All three of these solutions will work for you, but as with all cleaning activities, it takes time, elbow grease — aka scrubbing — to get the job done. Rinse it all off and wipe dry to really see how effective you were in removing the soap scum. But when you really need some cleaning help and tips, do the right thing. Call your favorite cleaning company. After all, it pays to call a pro! Cleaning Soot from Surfaces
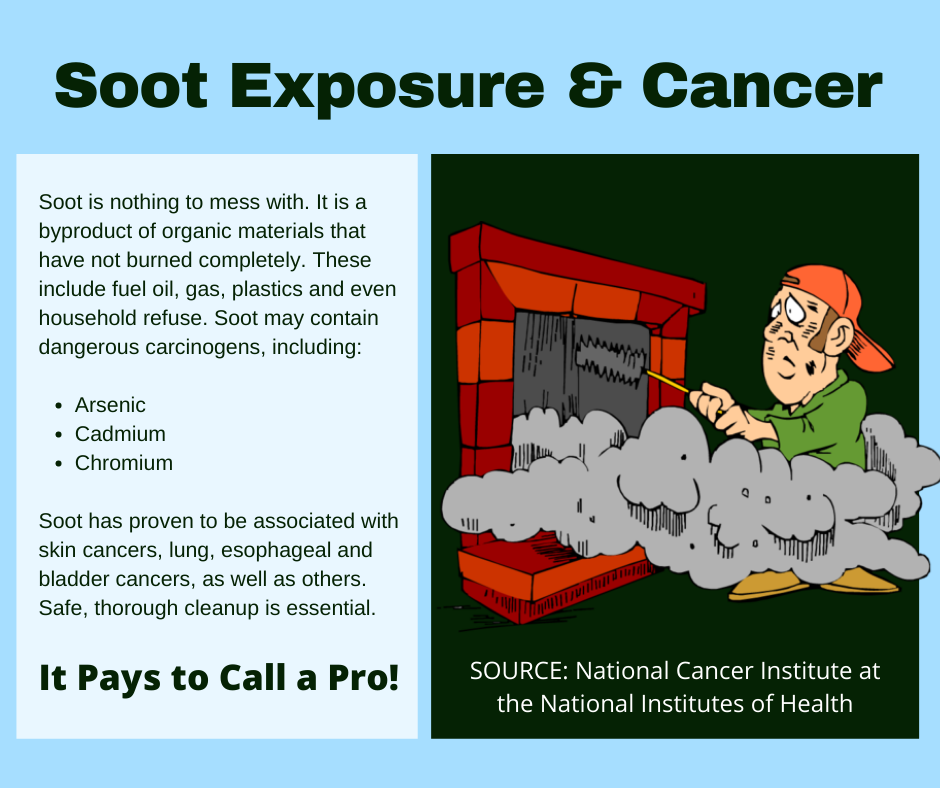
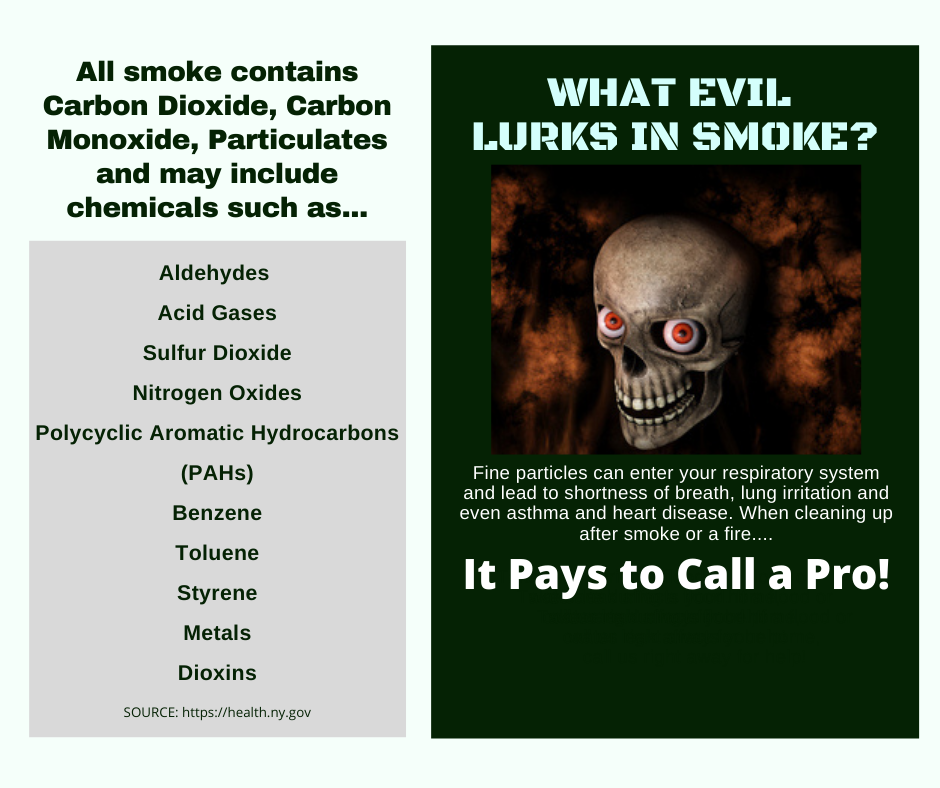
Soot is a residue that can be on any surface in your home. It can come from sources such as your furnace system, a fireplace, candles you burn, and other combustible sources that don’t burn clean. Some soot is dangerous, such as from a fire or furnace puff-back. Skin contact with these types of soot should be avoided, as they may contain hydrocarbons that are classified as human carcinogens. Outdoor soot is even regulated by the EPA, classified as a criteria pollutant. Soot is usually handled by restoration professionals as it is often a by-product of a disaster event, although it may be minor, such as extra smoke from a fireplace. But many types of soot, such as found in your kitchen or from candles, light soot, can be handled with regular restorative cleaning. Just be smart when deciding to clean soot from surfaces. Wearing appropriate personal protective equipment is a must when restoration pros do it, so keep that in mind and wear protective gloves, eye protection, and anything you need to keep the soot residues off of your skin and out of your lungs. The first step with soot is with simply dry wiping. It may come off the surface easily, especially if the surface is non-permeable. You will still need to wet clean that surface for final residue. Most likely, the soot needs to be cleaned with hot water and detergent, since it is often greasy. Applying some detergent solution and allowing approximately 10 minutes of dwell time should loosen the soot and you can wipe it away. There are also special cleaning products for soot-type greasy soils. The same cleaning principles would apply. But if the soot is on a vertical surface, your approach needs to be more careful. Clean from the bottom and move up, just a few inches at a time. If you start at the top and work down, any wet residue that runs down the wall may create permanent stains. So manage the moisture and soot removal from the bottom going up, and you won’t have this issue. If, after cleaning, soot stains remain, it may be time to think of repainting. Of course, soot cleaning is really something that restoration pros can handle. Do the right thing. Call your favorite restoration company. After all, it pays to call a pro! Dust(less) Best Practices
Dirt and grime can be found in most places and are part of life. The goal most of us have is to keep all of it outside, where it belongs. But inside it comes, sometimes with a vengeance. In the air. On shoes. Tracked in by pets. But what about dust? Is dust a simple type of soil that floats in the air, that you can see hanging in the sunlight coming in a window? That’s a common belief, yet you would be surprised at what composes dust in your home. Dust can be pet dander, skin cells, dust mite excrement, flooring materials breaking down, and, of course, just regular fine soil that has made its way into your home. Much of this may be allergen triggers for those in your household, so keeping your home as dust-free as possible is important. It’s a simple matter to dust a surface, but another one entirely to do it thoroughly and to remove dust from those hard-to-reach areas. Sometimes, our dusting efforts actually create more problems, as we might simply put the dust in the air or just move it around. Here are a few best practices to consider. As you work, think of your own lungs and perhaps wear a mask appropriate for dusting. If you have allergies, this is very important. Tip #1: To keep dust in its place, start at the top of a room and work your way down. Top to bottom. If you don’t collect all the dust with the cleaning cloth you are using, it should fall down, and you can get it as you keep working. Tip #2: It’s always best to use a moistened cloth rather than a dry cloth, if the surface can be cleaned with moisture. This way you easily collect the dust as you work. Turn the cloth over or rinse it out often. You want to remove dust, not redistribute it. Tip #3: For hard-to-reach areas, many might just skip cleaning. Don’t do that. Think smart. You can use long-handled dusters that collect dust and don’t sweep it away. You can use flat-mop type dusters for the sides of appliances. Also, think about vacuums with attachments to suck up the dust under furniture or behind heavy items that can’t easily be moved. Of course, the best option is to call your favorite cleaning company and let them handle the entire job, giving you time to do something you enjoy. After all, it pays to call a pro! Grease Fires During the Holiday Season
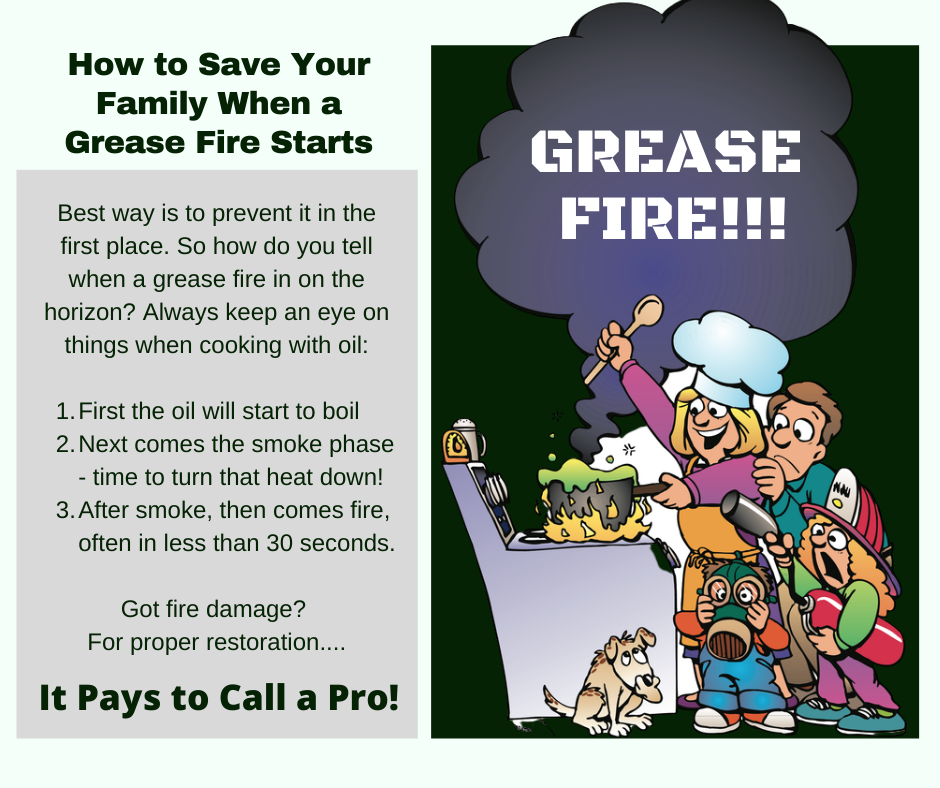
If there is one event to avoid at all costs, it is a grease fire in your kitchen as you prepare delicious meals during the holiday season. But it can happen. You are working feverishly around the kitchen and you have something cooking on the stovetop. The temperature reaches a critical limit, a flame pops up, and soon gets out of control. Another issue is when cooking grease or oil inadvertently escapes the pan and hits an open flame, and that flame follows the grease or oil trail back to the pan. Panic can strike and you may overreact to the event, and even cause more harm than good as you attempt to put the fire out. Preventing grease fires is fairly easy as long as you remain in the kitchen while cooking and stay alert to the level of flame on the stovetop and the temperature you are using to prepare your meals. Stir carefully and avoid spills at all costs. Monitor any excessive smoke coming from the pan as that is often an indicator of something to come. But when a grease fire does occur, keep calm and implement these practical tips. Control the heat When you detect smoke, turn off the heat source (whether gas or electric) and very carefully remove the pan from the burner if it is electric, if possible. But if you see a flame, do not move the pan. You will most likely splash grease or oil and fuel the fire even more. Never use water to put out a grease fire. This will splash and cause the fire to spread. Starve the flame If a flame is visible, very carefully put a lid on the open flame. This is the best, safest way to extinguish the flame as it will be starved of oxygen and go out. Extinguish the flame If a fire does start, and you can’t cover it with a lid to starve it of oxygen, you can pour baking soda on the flame until it is extinguished. If the flame grows, use an appropriate fire extinguisher for kitchen grease fires. Check with local fire authorities if you aren’t sure which type to purchase. If the unthinkable happens, and a grease fire does get out of control and cause damage, you will need special restoration work performed in your home. Do the right thing and reach out to your favorite disaster restoration company. After all, it pays to call a pro! Wonderful Wood Floors
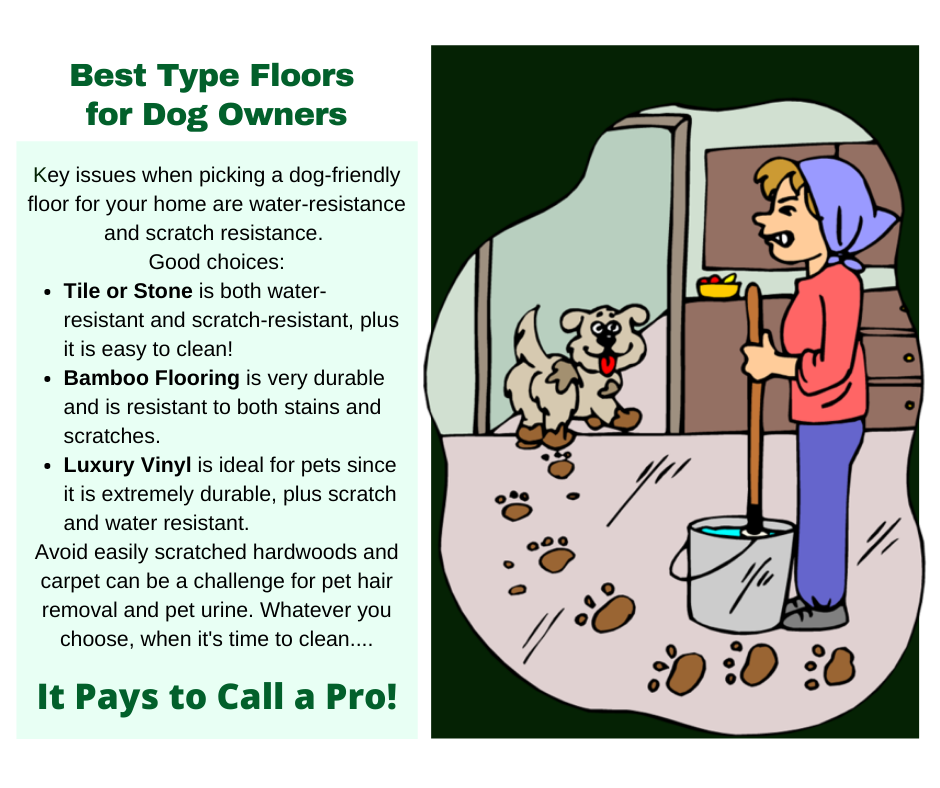
Cleaning and maintaining hard surfaces is a task that can really enhance the appearance and value of your home. While most hard floors respond well to routine cleaning and maintenance, there are still challenges inherent with natural wood flooring materials that require your special attention. The first challenge is a gritty one. Speaking of soil, of course. Any type of soil on a surface acts as a natural “sandpaper” and slowly but surely damages the surface as it is walked on. This can happen to carpet and hard floors, but it’s the appearance of hard floors that will show the damage. Imagine putting some sand on plexiglass and walking on it for a long period of time. The surface is going to get scratched and you will see it. The same is true of hard floors. Carpet may hide the issue to some degree — hard floors do not. The key to protecting your wonderful wood floors is daily maintenance. Don’t let a day go by without sweeping or, even better, using a dust mop on the floor. It doesn’t take long to do this, just a few minutes, but keeping that gritty soil off the floor will protect it. Choose a quality dust mop wide enough to make quick work of the chore, but not too wide that you can’t get into tight areas or corners. There are special vacuum cleaners for hard surfaces that work great as well. At least once a week, completely clean your wood floors. This means after removing the dry, gritty soil, deep clean the floor with warm detergent solution. Choose a detergent for your type of floor. A quick online search should provide you with the best product type. Keep moisture to a minimum but enough to dampen the floor as you clean it, removing oils and contaminants as you work. Rinse out and repeat several times until you are confident your wood floors are “squeaky clean.” When you come across specks or soils that stick to the floor, scrape them off with your fingernail or a sharp blade, but be careful not to scratch the floor. Of course, the best way to care for your wood floors is to use experts who know exactly how to maintain them. Contact your favorite cleaning company today. After all, it pays to call a pro! Remediation of Smoke Odors
One of the toughest odors to remove from any surface is from tobacco. While smoke odors are always pesky and challenging to remove, cigarette and cigar odors are especially tough because they have a powerful odor and they tend to linger. The particles are small, and they cling to and embed into any type of surface, especially fabrics. In automobiles, there are an issue especially when a car is being sold. One promising rule of thumb when it comes to removing tobacco odors is time. With fresh air and plenty of time, the odors dissipate on their own — for the most part. But many people don’t want to wait it out. Cleaning the surface is the first step in smoke odor removal. If you can launder an item, that’s the best way to remove odors. But some fabrics, such as rugs, furniture, and of course the interior of your car, you can’t put in the washer. Professional cleaning is always best, but there are a few tricks you can implement in the meantime. Hard surfaces If you are cleaning countertops, wood furnishings, or other non-permeable surfaces, you are in luck. Those surfaces usually are easy to clean, and smoke odor removal is often successful. Simply use an approved hard surface cleaning produce you can find at any department or grocery store, wet the surface, allow several minutes of contact time so the product can work, and then wipe away with a clean cloth or paper towel. Repeat until you see no more soil transfer. Adding a little deodorizer afterwards, and wiping it off, adds a pleasant, lingering scent. Soft surfaces Now we are getting into the real challenge, removing odors from fabrics. As said previously, laundering an item is the best way to remove odors. It may take several launderings to get the best results. While cleaning non-launderable fabrics is tough without proper equipment and experience, you can dry vacuum soils and that helps. You can also allow fresh air to do its magic. And putting a few drier sheets under cushions will help as well. You can stuff drier sheets in other areas, as well, such as in automobiles, to help with the odors over time. The real way to get rid of smoke odors from fabrics? Call a professional fabric cleaning or disaster restoration company. Restoration companies are highly skilled at the task of smoke odor removal. They have the equipment, products, and expertise to thoroughly clean and deodorize odor-causing substances. They also have special processes designed to remove tobacco odors. Do the right thing. After all, it pays to call a pro! |
HYDROFRESH CLEANING & RESTORATION Suffolk County NY
Call for a FREE Quote (631) 213-6733 Archives
March 2021
Serving the Suffolk County NY Area Including Babylon NY, Brookhaven NY, East Hampton NY, Huntington NY, Islip NY, Riverhead NY, Shelter Island NY, Smithtown NY, Southampton NY, Southold NY, Yaphank NY
|

 RSS Feed
|
|
Would you like to get your own OutPost Site? Cleaning and restoration firms who are MarketingZoo.com members get
|
CleaningOutpost.com Directory of Cleaning & Restoration Businesses is a service offered by MarketingZoo.com
Copyright 2015 Thinkshortcut Publishing, LLC
Copyright 2015 Thinkshortcut Publishing, LLC