|
How to Fix the Mess in the Microwave
There is no greater compliment to your cleaning skills than someone commenting that your microwave oven is the cleanest they have ever seen. You’ve never heard someone say that about the microwave in your kitchen? Then let’s get to work! Microwaves are known to be messy. After all, they are designed to warm up food, and usually, that involves spills, spatters, and for some food items, explosions. Who hasn’t put something in the microwave to heat it up only to hear that dreaded POP as it expanded and flung remnants all over the inside of the oven? Some of you may be diligent with covering up food you are warming, but most of us… just hope for the best. And when that fails us, here are a few practical tips to a perfectly clean microwave oven. Start smart The first step to cleaning a dirty microwave oven is to wipe up as much excess food particles you can. Spraying them just means a smeary mess. Use a dish cloth or paper towels to remove food particles, paying special attention to the inside of the door and corners, where particles can build up over time. Steam it up Nothing works better than a little preparation. Take an uncovered bowl of water and put it in the microwave and cook it for two or three minutes. The steam and heat of the water will help loosen the grease and remaining food particles for easier removal. This head start is a very smart way to clean your microwave oven. Wipe it all down It’s best not to spray the interior with just any cleaning solution. What you smell might end up in your food. Residues and odors can affect the next dish you prepare. Instead, use a cloth, hot water, and dish detergent as your cleaning arsenal. With the dampened cloth, wipe away greasy residues and food particles, repeating often until you have a squeaky-clean surface. You can also put the dampened cloth on really stubborn areas and allow the detergent to work a few minutes and then wipe it away. When you are done, dry it all with fresh towels and inspect, recleaning any areas of concern. Of course, to really get something clean in your home, do the right thing. Call your favorite cleaning company. After all, it pays to call a pro! A Litter Help
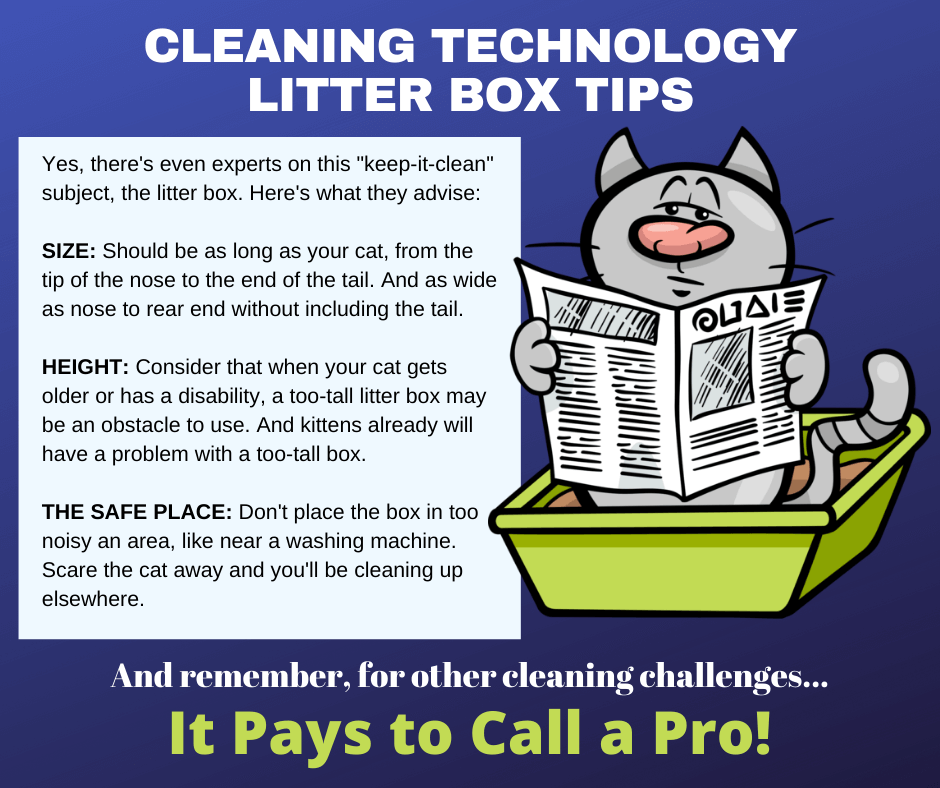
Cats are responsible for many things, such as making you happy when they snuggle up to you, making you cheer when they rid your house of a mouse, and giving you something to do with the camera app on your smartphone. They do a lot to bring people happiness, but they also need quite a bit of attention at the same time. Besides feeding them, taking them to the occasional veterinarian visit, clipping their claws, and generally making them happy, you have something unpleasant to deal with: The litter box. Unless you have a fancy one that is self-cleaning, you have to do the scooping because your cat isn’t going to do it for you. And more than just scooping is involved with the chore. Here are a few tips to give you a “litter help” with the cat box (pun intended). The first thing to consider is a schedule. Don’t just clean the litter box when you smell it or the cat(s) start kicking out some gross objects. It’s good to do it every day, or every two days, so it stays hygienic and doesn’t start to smell. Make it a habit, the frequency of cleaning. Wear rubber gloves and use a scooper meant for the task and scoop out the waste into a plastic bag. DO NOT toss it all in the toilet, as that will just plug up the plumbing and then you have another task to handle. Close the bag up and discard it into the trash can, preferably one outside. Just adding the clumps to your regular trash can in the kitchen means you will have an odiferous situation on your hands within an hour or so. Bag it, close it, toss it. Depending on how many cats you have, completely change out the litter on a schedule as well. This should be done every 3-4 weeks. Completely empty out the pan, and carefully rinse it out, using detergent and hot water, but be careful not to make bigger mess. Remember that most cat litter clumps when wet. Finally, placement of the litter box is important. It needs to be in an area not too close to the nose, if you know what we mean. The litter will come out, either kicked by the cat(s) or tracked out on paws. Sweeping it up is part of the job. And once in a while, your cat(s) cause “accidents” and bad odors can become part of your carpet, furniture, and other textiles. When that happens, do the right thing, and call your favorite cleaning company. After all, it pays to call a pro! Computer Cleaning Made Simple
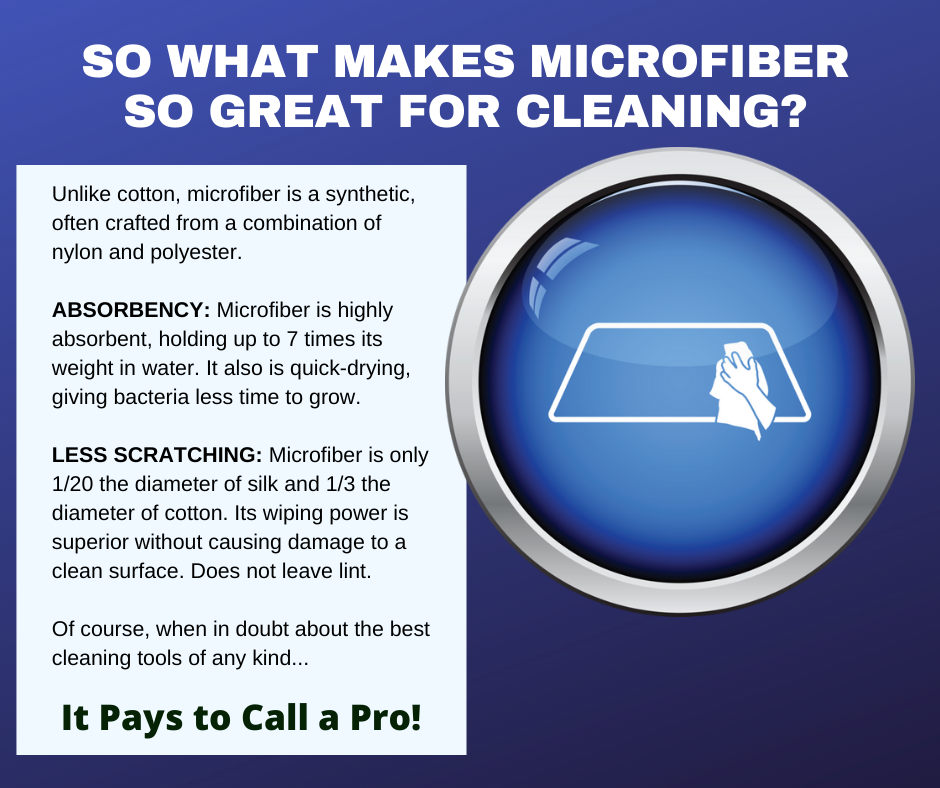
When people discuss “cleaning the computer” they often refer to running a disk check, removing old files, deleting applications that just take up space, and all the tasks that help it to run faster. But cleaning can be an old-fashioned task and add value to that electronic device you rely on each and every day. Everything works better when it is cleaned and maintained. Whether you have a computer with a “tower” and separate monitor, keyboard, etc., or a laptop, or a tablet, even a smartphone, they all need attention from time to time. Keep it safe and organized The first step is to turn off the device, no matter what. Electric shock can occur during cleaning, especially since you will use moisture to some degree. Take apart the tower (if you have one), remove it, and keep all the screws and tiny parts organized. There’s nothing more frustrating than taking something apart and either losing a small part or having extra when the job is done. Getting to work Using compressed air, such as from a small can, blow out the dust that has accumulated inside. There may even be some spider webs. If you need to wipe out the interior, use a very soft cloth and be careful with the wires and connections. You don’t want a cleaning to turn into a repair. Most likely, the computer or device you have is a laptop or tablet. For those, using compressed air is smart on openings and vented areas, you want to keep dust out of the device. A close examination of ports often shows accumulation of soil and grime. With any device, wiping down the outside keeps oils from building up and especially helps with any buttons and keys. Using a solution such as for eyeglasses, and a soft microfiber cloth, apply the solution to surfaces and quickly (before it penetrates) wipe it off. Screens can be stubborn, as they show streaks. Microfiber cloths are the best tool for minimizing streaks. For keyboards, use compressed air and cotton swabs to remove the dust and buildup in crevices. For stubborn soils, a little more effort will be required and maybe some careful cleaning with sharp objects, such as a wooden toothpick, might be warranted. But always be very careful not to cause damage to the keys. And don’t forget, for all your cleaning needs and questions, contact your favorite cleaning company. After all, it pays to call a pro! |
Would you like to get your own OutPost Site? Cleaning and restoration firms who are MarketingZoo.com members get
|
CleaningOutpost.com Directory of Cleaning & Restoration Businesses is a service offered by MarketingZoo.com
Copyright 2015 Thinkshortcut Publishing, LLC
Copyright 2015 Thinkshortcut Publishing, LLC


 RSS Feed
