|
How to Fix the Mess in the Microwave
There is no greater compliment to your cleaning skills than someone commenting that your microwave oven is the cleanest they have ever seen. You’ve never heard someone say that about the microwave in your kitchen? Then let’s get to work! Microwaves are known to be messy. After all, they are designed to warm up food, and usually, that involves spills, spatters, and for some food items, explosions. Who hasn’t put something in the microwave to heat it up only to hear that dreaded POP as it expanded and flung remnants all over the inside of the oven? Some of you may be diligent with covering up food you are warming, but most of us… just hope for the best. And when that fails us, here are a few practical tips to a perfectly clean microwave oven. Start smart The first step to cleaning a dirty microwave oven is to wipe up as much excess food particles you can. Spraying them just means a smeary mess. Use a dish cloth or paper towels to remove food particles, paying special attention to the inside of the door and corners, where particles can build up over time. Steam it up Nothing works better than a little preparation. Take an uncovered bowl of water and put it in the microwave and cook it for two or three minutes. The steam and heat of the water will help loosen the grease and remaining food particles for easier removal. This head start is a very smart way to clean your microwave oven. Wipe it all down It’s best not to spray the interior with just any cleaning solution. What you smell might end up in your food. Residues and odors can affect the next dish you prepare. Instead, use a cloth, hot water, and dish detergent as your cleaning arsenal. With the dampened cloth, wipe away greasy residues and food particles, repeating often until you have a squeaky-clean surface. You can also put the dampened cloth on really stubborn areas and allow the detergent to work a few minutes and then wipe it away. When you are done, dry it all with fresh towels and inspect, recleaning any areas of concern. Of course, to really get something clean in your home, do the right thing. Call your favorite cleaning company. After all, it pays to call a pro! The Often-Forgotten Vacuum Bag
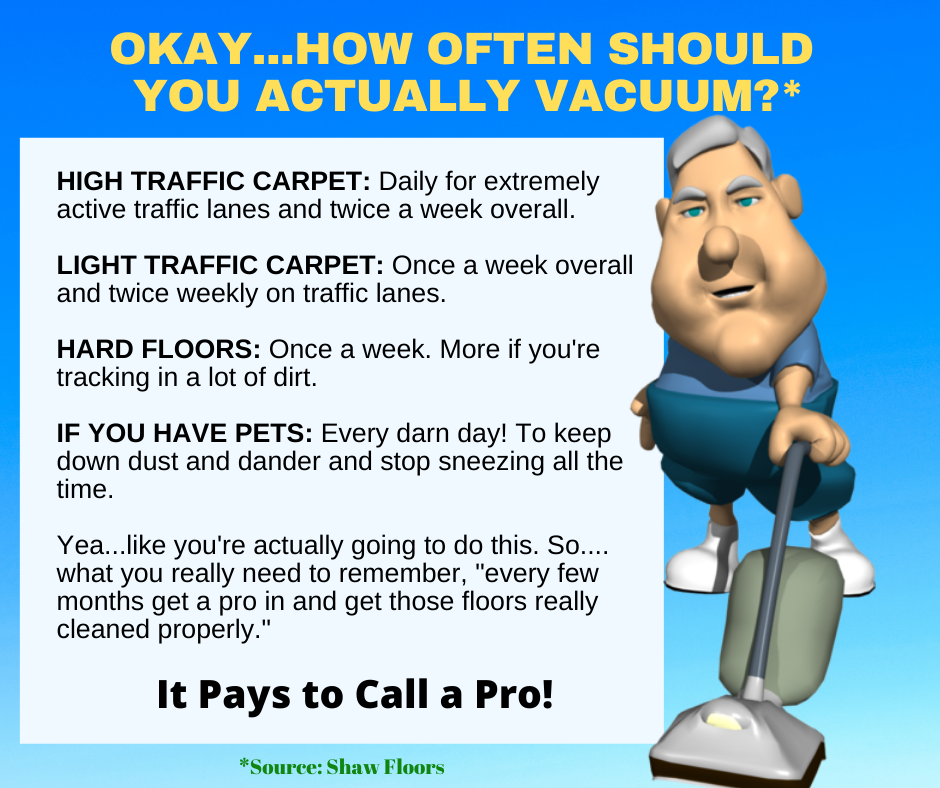
Vacuum cleaners are an integral part of life for any family and a common tool used daily in commercial buildings. While the vacuum hums along doing its job, picking up dirt, grit, debris, and potential contaminants, there is a part of the vacuum we might not think about that often. You usually can’t see it… but it’s right there, inside your vacuum cleaner — the bag. The vacuum bag is the repositor of all substances that the vacuum collects through the beater bar or suction assembly and hoses. Unless you use a bagless vacuum, and there are some on the market today, all air goes from the surface being vacuumed and through the vacuum bag. The air you breathe around a vacuum is partly the air that has passed through the unit. Problem detected You know you have a problem when you turn on the vacuum cleaner and notice a foul odor. What you are detecting is the result of organic and inorganic matter inside the vacuum bag that has had time grow microorganisms that create odors. A vacuum bag that has sat a long period of time without being changed or cleaned can produce significant bad odors. While your vacuum cleaner manufacturer will have recommendations on the frequency of changing the bag, those are simply general recommendations. Professional carpet cleaners recommend changing a bag when one-half to two-thirds full. Is that enough? The nose knows In addition to following a schedule, use some common sense. Remember that a vacuum bag in the dark that is stuffed with organic soils will quickly become an odor-causing source. If you vacuum every day, you may not notice it. But give it a week or two, and the odors become evident. At the first hint of an odor, change the bag. Even if you vacuum once or twice, and put the vacuum away for several days, it may be good to change the bag before using it again. Bags are cheap. Your health is not. Professionals cleaners often change the vacuum bag and clean all equipment before going from one home to the next. The do this to avoid cross-contamination. Their basic principles of equipment maintenance keep you and your family safe. When it comes to the absolute best cleaning of all surfaces, do the right thing. Call your favorite cleaning company. After all, it pays to call a pro! A Litter Help
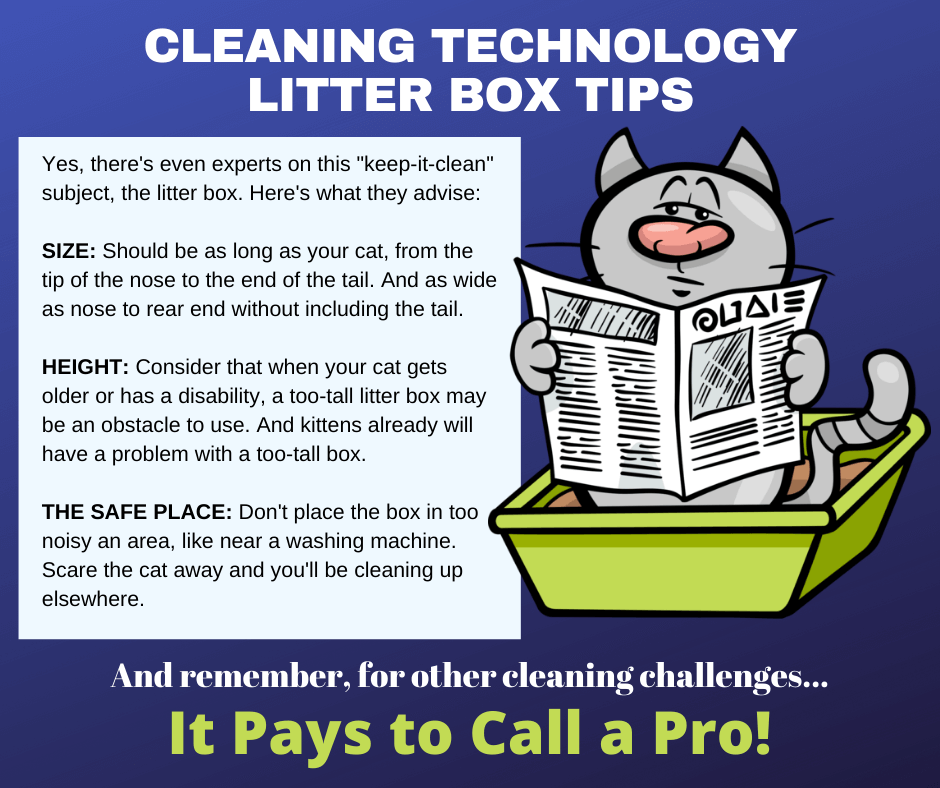
Cats are responsible for many things, such as making you happy when they snuggle up to you, making you cheer when they rid your house of a mouse, and giving you something to do with the camera app on your smartphone. They do a lot to bring people happiness, but they also need quite a bit of attention at the same time. Besides feeding them, taking them to the occasional veterinarian visit, clipping their claws, and generally making them happy, you have something unpleasant to deal with: The litter box. Unless you have a fancy one that is self-cleaning, you have to do the scooping because your cat isn’t going to do it for you. And more than just scooping is involved with the chore. Here are a few tips to give you a “litter help” with the cat box (pun intended). The first thing to consider is a schedule. Don’t just clean the litter box when you smell it or the cat(s) start kicking out some gross objects. It’s good to do it every day, or every two days, so it stays hygienic and doesn’t start to smell. Make it a habit, the frequency of cleaning. Wear rubber gloves and use a scooper meant for the task and scoop out the waste into a plastic bag. DO NOT toss it all in the toilet, as that will just plug up the plumbing and then you have another task to handle. Close the bag up and discard it into the trash can, preferably one outside. Just adding the clumps to your regular trash can in the kitchen means you will have an odiferous situation on your hands within an hour or so. Bag it, close it, toss it. Depending on how many cats you have, completely change out the litter on a schedule as well. This should be done every 3-4 weeks. Completely empty out the pan, and carefully rinse it out, using detergent and hot water, but be careful not to make bigger mess. Remember that most cat litter clumps when wet. Finally, placement of the litter box is important. It needs to be in an area not too close to the nose, if you know what we mean. The litter will come out, either kicked by the cat(s) or tracked out on paws. Sweeping it up is part of the job. And once in a while, your cat(s) cause “accidents” and bad odors can become part of your carpet, furniture, and other textiles. When that happens, do the right thing, and call your favorite cleaning company. After all, it pays to call a pro! A Time for Reflection
Cleaning windows is a common chore, and many people will schedule an entire day or more to it during spring or annual cleaning. It involves removing screens, climbing up on ladders, stepping over shrubbery, a little huffing and puffing, among other challenges. When cleaning your windows, don’t forget the interior glass that can get neglected. That’s right, the mirrors in your home. If you keep your mirrors clean, you might even look better when you gaze at yourself! Cleaning mirrors may seem like a simple task… but like with all household tasks, there are proper, best-practice steps that make the job easier, better, and save you time as well. Supplies As with window washing, you can use a scrub tool and squeegee on mirrors, but that’s not very effective on smaller surfaces and especially those not perfectly flat. Most will opt for a quality glass cleaner, one that limits streaking. You can find plenty of options at your grocery or department store. If you are the do-it-yourself type of person, you can also make your own. Most cleaning products are, after all, water based. In a trigger sprayer, mixing up a few cups of water with a few drops of dishwashing detergent and about a cup of rubbing alcohol makes a great homemade alternative as a glass cleaner. The rubbing alcohol helps with evaporation. Some recipes call for a few drops of vinegar as well. Can’t hurt! You also need lint-free towels. Many use disposable paper towels but make sure they are higher quality as you don’t want them falling apart when you use them. Wiping off edges and streaks is essential to a good glass cleaning job. Cleaning tips The actual cleaning is pretty simple, but you must be thorough. Apply/mist on a small amount of solution, wetting out the entire surface. Using your towels, work over the surface until all the moisture is evaporated and then keep wiping. Use a zig-zag pattern, turning over the towel and using the dryer side when you can. A final wiping with a clean, unused towel should finish off the job. Make sure the room is well-lit. Look at the glass from all angles. What might look fine from one side of the room may look terrible from the other side. For all your best cleaning tips, and to get some help with all your cleaning tasks, call your favorite cleaning company. After all, it pays to call a pro! How to Remove Wax from Surfaces
Wax is a big part of everyday life. You use candles to add a nice warm glow to your home, and to add a pleasing scent as well. You wax your car to give it a nice shine. You use wax to remove unwanted hai… oops, let’s not get too personal. But you get the picture. Wax is beneficial, handy, it has many uses, but when it is spilled onto a surface by accident, it can be a tough challenge to clean up. As you know, when wax is spilled, it is hot and can really stick to surfaces, especially fabric like carpet or upholstery. Here are a few useful tips you can implement when cleaning up wax. Carpet, furniture, and fabrics There’s no point in hurrying. Once it hits the surface, it hardens up faster than ice cream disappearing in front of a teenager. But once it hardens, you may be able to break up the wax and pull it off the fabric. BE CAREFUL not to damage the fabric, especially furniture. You can choose cold or hot treatment. You can freeze the wax with ice cubes and break it off, or you can warm it up for removal. You can do this with a hair dryer, clothes teamer or even a clothes iron if you use the lowest setting and keep a damp towel between the iron and the surface, and just dab at it to transfer the wax. If you can warm up the wax to melting temperature, you can remove it. The color left behind will most likely need the attention of a cleaning company. Hard surfaces This is easier. You have several approaches. Whether glass, wood, tile, or other hard surfaces, simply scrape (be careful not to scratch the surface) the wax off. If stubborn, you can also warm up the wax with a hair dryer or clothes steamer and then wipe it off. An oily residue may remain, and you can use a hot detergent and towel to remove that. Some recommend rubbing alcohol as the solvent of choice. Prevention – and the best cure Of course, being careful not to spill the wax is the smart thing to do, but accidents do happen. And when they do, and you need help, reach out to your favorite cleaning company. After all, it pays to call a pro! Dive into Spring Cleaning
When the temperature is climbing up to an acceptable level and flowers are flexing their muscles, when the birds are singing and you are in a (generally) better mood, that just might mean that spring has arrived. And with that comes the unignorable urge to clean everything in sight. Spring cleaning is an age-old tradition that grips virtually everyone with a home or apartment. It’s that annual event likened to a pilgrimage that means you discover all kinds of things, such as “What in the world has been growing behind the refrigerator?” and “Just how many spiders lived in our basement this winter?” Spring cleaning needs to be strategic, not a haphazard running around the house with a feather duster in one hand and the vacuum in the other. The first step is to prioritize. Which areas of the house need attention first? Which will take the most time? Which will make the most impact (positive) on creating a cleaner, healthier home? Make a list. What you will do with the high-touch points, dusting, vacuuming, moving furniture, special tasks such as window washing or oven cleaning. Also add in what you need professional services for, such as carpet and furniture cleaning, hard floor care, and similar tough jobs that give you a migraine just thinking about them. Create a schedule. While some may have a few days they can put against spring cleaning chores, many must split it up. Make it manageable. After you create your list and priorities, get out the calendar and map it all out so your plan gets some life to it. Nothing feels as good as checking off those cleaning tasks over a period of time. Take your time. When dusting, vacuuming, or another cleaning task, don’t hurry through it. There’s nothing as valuable as a thorough, diligent cleaning of surfaces. Moving that vacuum slowly over the carpet means you are pulling more dry soil, which means less dust “coming back” after spring cleaning is over. You will also be “getting rid of stuff” during the spring-cleaning process. Sentiments may come into play. Although that elephant shaped planter in the back corner of the basement came from a favorite third cousin (what is her name, anyway?), you have never introduced anything resembling live growth to it. Maybe just get rid of it, along with all that other stuff that you know you won’t use in this lifetime. And when it comes time to get some expert help with your cleaning tasks, do the right thing. Call your favorite cleaning company. After all, it pays to call a pro! The Tenacity of Soap Scum
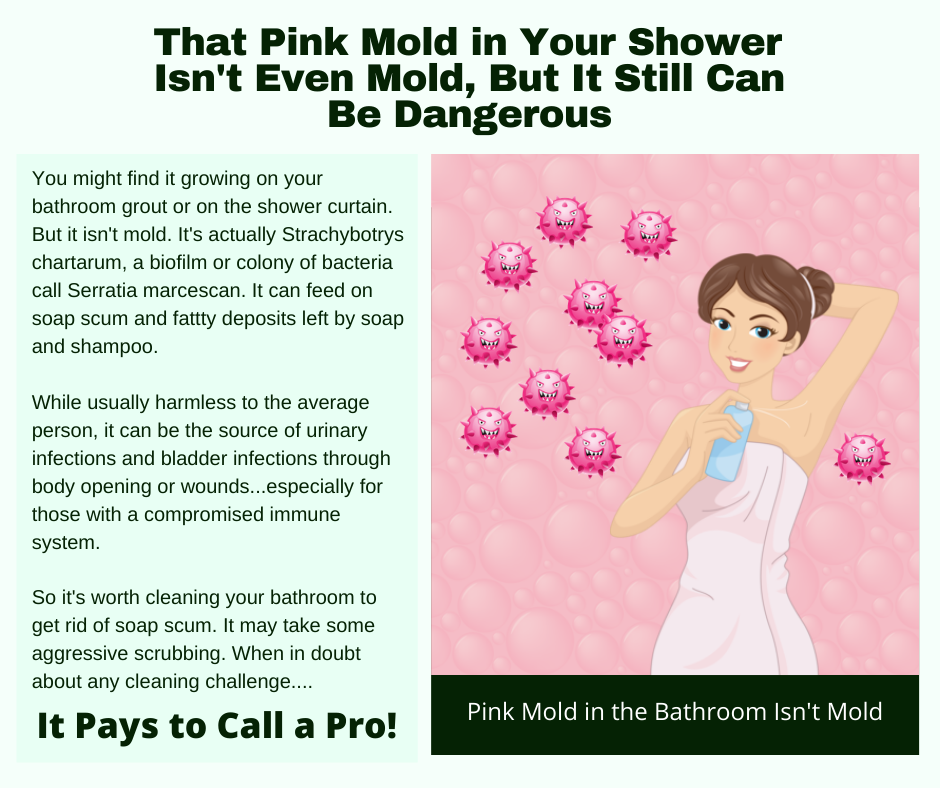
Soap scum is an irritating by-product of cleaning, especially in tubs, showers, and sinks. It’s ironic that a product you use to clean with creates problems on surfaces. And besides just soap buildup, what’s encased in the soap scum includes body oil, dead skin, bacteria, dirt, and more. This is why you may notice a foul odor as the soap scum gets thicker over time. Using liquid soap instead of bar soap will hinder soap scum buildup, because bar soap contains products that tend to create a film. Wiping down surfaces in your tub, shower, and sinks after you use them also helps. And there are specialty products you can mist onto surfaces routinely that will hinder the buildup of film. But when soap scum strikes, here are a few easy steps to follow to remove it. Mix up equal amounts warm water and white vinegar and add a small amount (just a drop) of dish detergent. Use a spray bottle and liberally apply to the soap scum, give the solution several minutes to work, and wipe it off. Keep repeating until the soap scum is gone. The small amount of dish detergent acts as a surfactant and penetrates the soap scum, and the water/vinegar mix helps break down the elements that created the scum. Mixing up a paste of baking soda and vinegar also works. Use about a half cup of baking soda in a small bowl, add just enough white vinegar until it becomes a paste. It will fizz for a while, and once it is done fizzing, apply to the areas you wish to treat. This is especially effective in areas such as where you leave a bar of soap and the scum is really thick. There are some cleaning products you can purchase at your favorite department store that also work on soap scum. They are applied directly to the surface and bubble and fizz and make removal much easier. All three of these solutions will work for you, but as with all cleaning activities, it takes time, elbow grease — aka scrubbing — to get the job done. Rinse it all off and wipe dry to really see how effective you were in removing the soap scum. But when you really need some cleaning help and tips, do the right thing. Call your favorite cleaning company. After all, it pays to call a pro! Removing Spots and Stains from Clothes
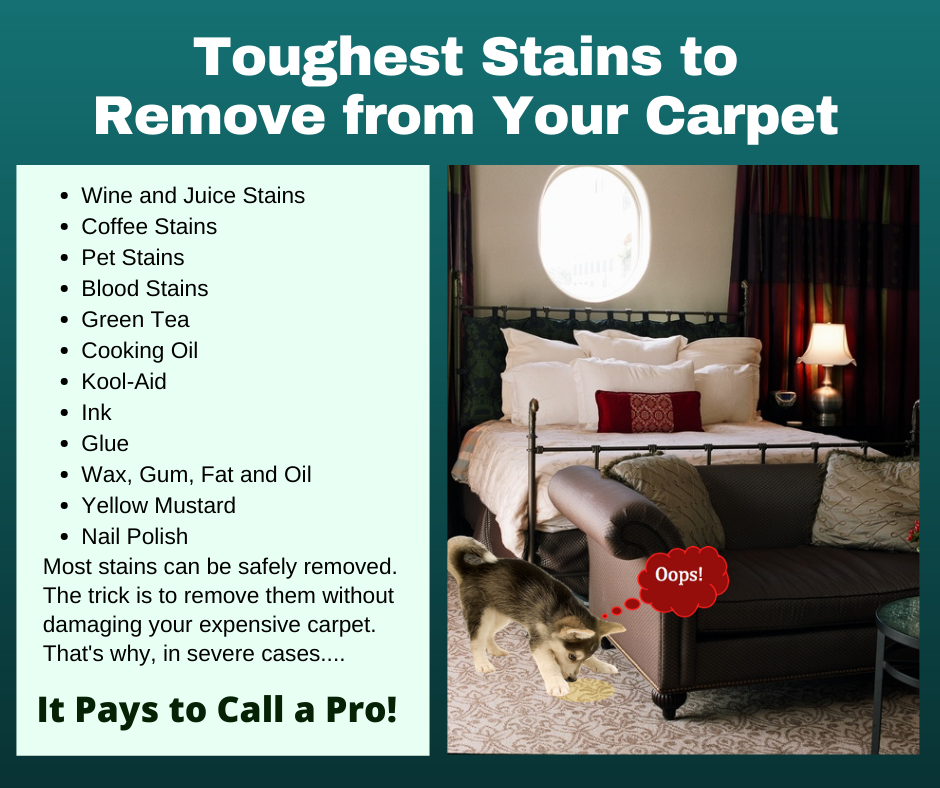
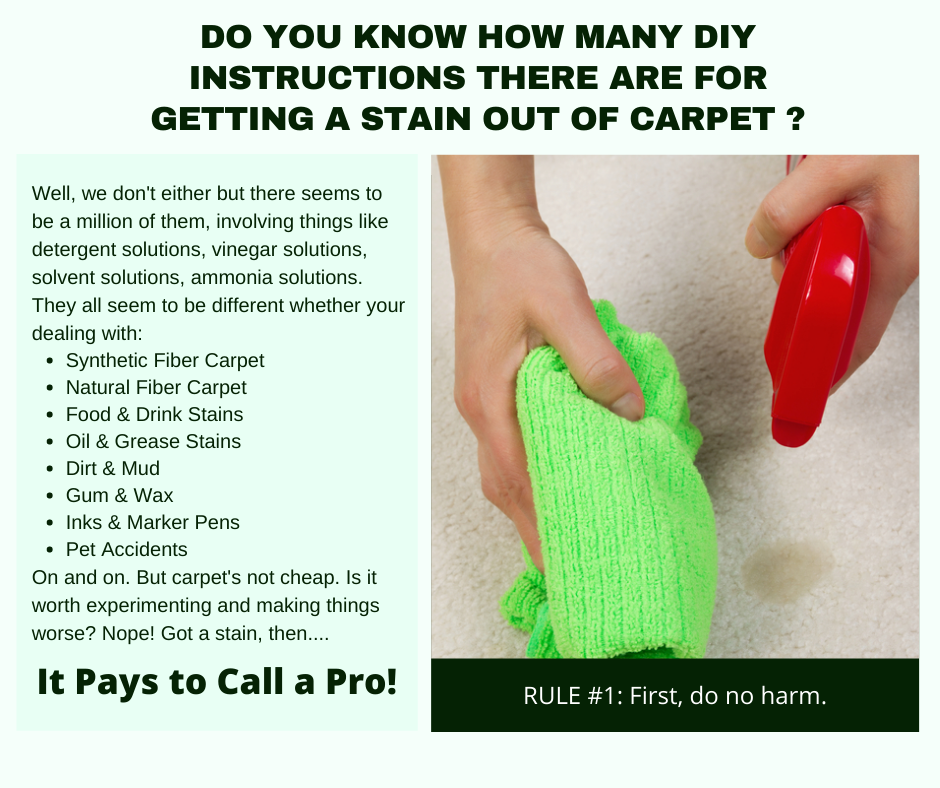
Life comes with all kinds of surprises, and one unpleasant one is when you put on a freshly laundered shirt and discover a spot or stain didn’t come out. The offending visual takes center stage when you venture out in public. While your regular laundering of clothes should remove most spots, some of them can be stubborn and, of course, stains need special treatment. The first step in better spot and stain removal is to act fast. If you can get your clothes into the washing machine immediately after the spill or whatever activity created the issue, your odds of success increase dramatically. Deal with any spot or stain issue as early as possible. Here are a few tips that will help you become a spot and stain removal expert, and keep your clothes looking their best all the time. Pretreat Even if you have a fresh spill, and can put it directly into the washing machine, it is still important to apply some spotting solution and work it into the spot. This gives you a head start on removing the spot. Some spills, such as coffee, tea, and red wine have tannins that don’t wash out that easily. Do your best to not allow a spot to dry out. If laundered when wet and fresh, it will come out easier. Temperature Use the hottest temperature you can for the type of clothing to be washed. Whites can be washed in super-hot water, while dark colors can bleed or lose dyes in hot water. This is especially true with newer clothing that hasn’t been laundered that often. Boost the chemistry Adding an oxygen booster to your washing machine will also help safely bleach away spots and stains. Many laundry detergents come with oxygen boosters, which are hydrogen peroxide-based products. Build your spotting kit It is a good idea to have on hand a few spotting solutions to use on your clothes, especially for stubborn soils. Grease, oil, ink, and paint are examples of types of soils that need a dry-based solvent. While normal pretreat products are good for general spots, there are times when a specific type of cleaning product will save the day for you. Of course, when it comes to all things cleaning, talk to your favorite cleaning company. They have the answers and can give you great advice. After all, it pays to call a pro! |
Clean Sweep Services Appleton WI
Call Clean Sweep Services at 931-5430 Cleaning OutPost Site Appleton WI
October 2021
|


 RSS Feed
|
|
Would you like to get your own OutPost Site? Cleaning and restoration firms who are MarketingZoo.com members get
|
CleaningOutpost.com Directory of Cleaning & Restoration Businesses is a service offered by MarketingZoo.com
Copyright 2015 Thinkshortcut Publishing, LLC
Copyright 2015 Thinkshortcut Publishing, LLC