|
The Tenacity of Soap Scum
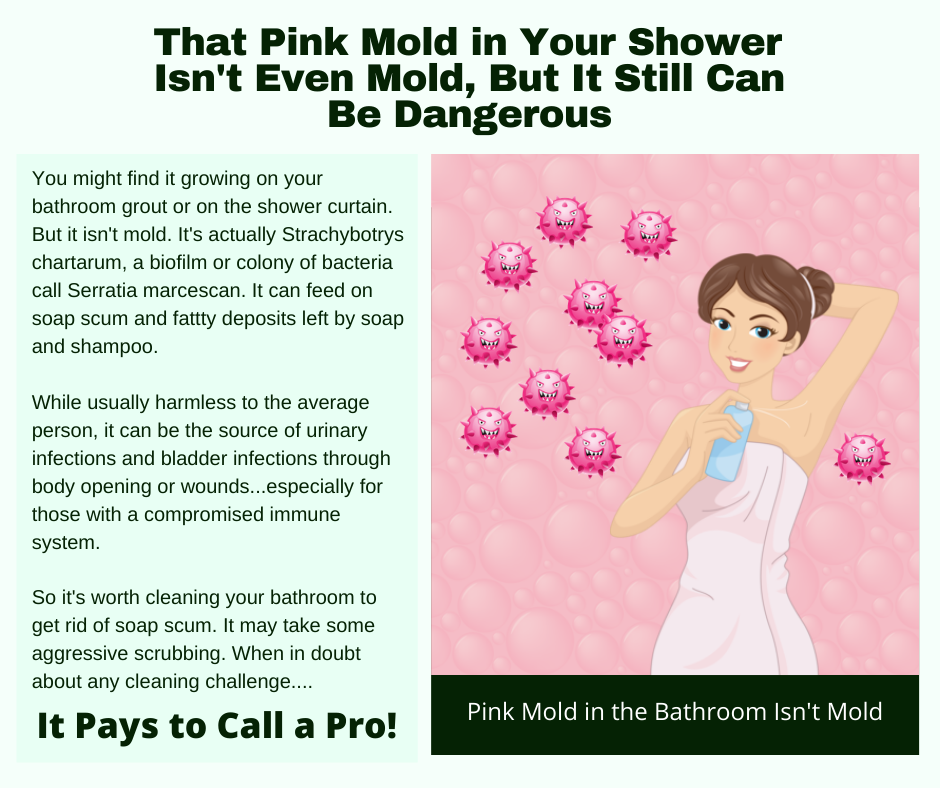
Soap scum is an irritating by-product of cleaning, especially in tubs, showers, and sinks. It’s ironic that a product you use to clean with creates problems on surfaces. And besides just soap buildup, what’s encased in the soap scum includes body oil, dead skin, bacteria, dirt, and more. This is why you may notice a foul odor as the soap scum gets thicker over time. Using liquid soap instead of bar soap will hinder soap scum buildup, because bar soap contains products that tend to create a film. Wiping down surfaces in your tub, shower, and sinks after you use them also helps. And there are specialty products you can mist onto surfaces routinely that will hinder the buildup of film. But when soap scum strikes, here are a few easy steps to follow to remove it. Mix up equal amounts warm water and white vinegar and add a small amount (just a drop) of dish detergent. Use a spray bottle and liberally apply to the soap scum, give the solution several minutes to work, and wipe it off. Keep repeating until the soap scum is gone. The small amount of dish detergent acts as a surfactant and penetrates the soap scum, and the water/vinegar mix helps break down the elements that created the scum. Mixing up a paste of baking soda and vinegar also works. Use about a half cup of baking soda in a small bowl, add just enough white vinegar until it becomes a paste. It will fizz for a while, and once it is done fizzing, apply to the areas you wish to treat. This is especially effective in areas such as where you leave a bar of soap and the scum is really thick. There are some cleaning products you can purchase at your favorite department store that also work on soap scum. They are applied directly to the surface and bubble and fizz and make removal much easier. All three of these solutions will work for you, but as with all cleaning activities, it takes time, elbow grease — aka scrubbing — to get the job done. Rinse it all off and wipe dry to really see how effective you were in removing the soap scum. But when you really need some cleaning help and tips, do the right thing. Call your favorite cleaning company. After all, it pays to call a pro! Removing Spots and Stains from Clothes
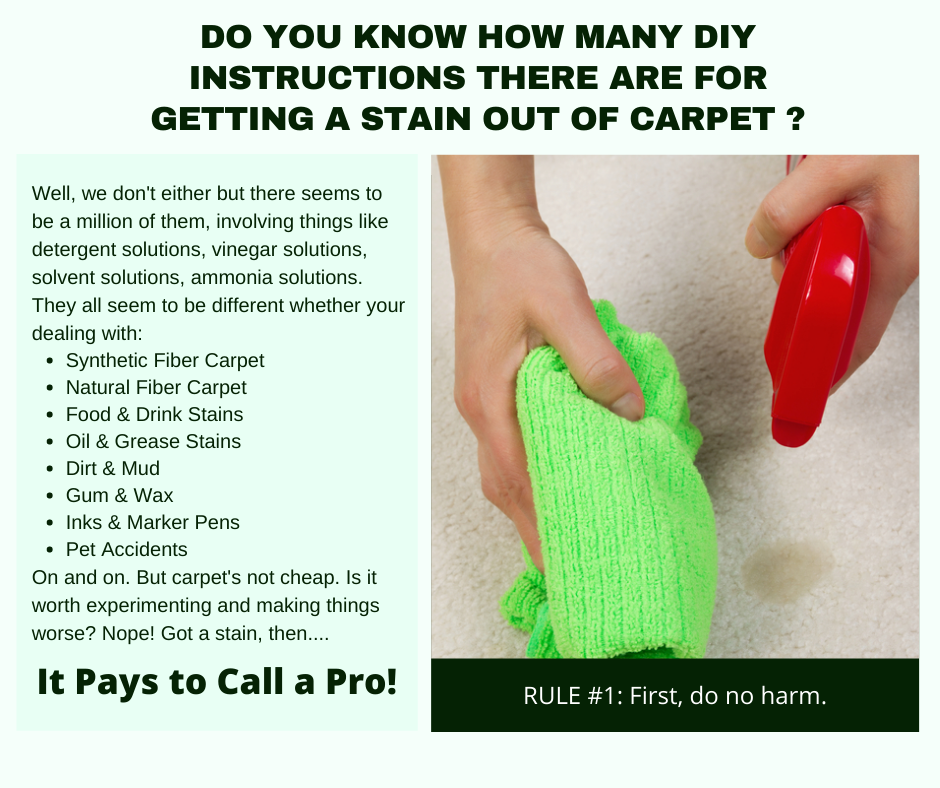
Life comes with all kinds of surprises, and one unpleasant one is when you put on a freshly laundered shirt and discover a spot or stain didn’t come out. The offending visual takes center stage when you venture out in public. While your regular laundering of clothes should remove most spots, some of them can be stubborn and, of course, stains need special treatment. The first step in better spot and stain removal is to act fast. If you can get your clothes into the washing machine immediately after the spill or whatever activity created the issue, your odds of success increase dramatically. Deal with any spot or stain issue as early as possible. Here are a few tips that will help you become a spot and stain removal expert, and keep your clothes looking their best all the time. Pretreat Even if you have a fresh spill, and can put it directly into the washing machine, it is still important to apply some spotting solution and work it into the spot. This gives you a head start on removing the spot. Some spills, such as coffee, tea, and red wine have tannins that don’t wash out that easily. Do your best to not allow a spot to dry out. If laundered when wet and fresh, it will come out easier. Temperature Use the hottest temperature you can for the type of clothing to be washed. Whites can be washed in super-hot water, while dark colors can bleed or lose dyes in hot water. This is especially true with newer clothing that hasn’t been laundered that often. Boost the chemistry Adding an oxygen booster to your washing machine will also help safely bleach away spots and stains. Many laundry detergents come with oxygen boosters, which are hydrogen peroxide-based products. Build your spotting kit It is a good idea to have on hand a few spotting solutions to use on your clothes, especially for stubborn soils. Grease, oil, ink, and paint are examples of types of soils that need a dry-based solvent. While normal pretreat products are good for general spots, there are times when a specific type of cleaning product will save the day for you. Of course, when it comes to all things cleaning, talk to your favorite cleaning company. They have the answers and can give you great advice. After all, it pays to call a pro! Dust(less) Best Practices
Dirt and grime can be found in most places and are part of life. The goal most of us have is to keep all of it outside, where it belongs. But inside it comes, sometimes with a vengeance. In the air. On shoes. Tracked in by pets. But what about dust? Is dust a simple type of soil that floats in the air, that you can see hanging in the sunlight coming in a window? That’s a common belief, yet you would be surprised at what composes dust in your home. Dust can be pet dander, skin cells, dust mite excrement, flooring materials breaking down, and, of course, just regular fine soil that has made its way into your home. Much of this may be allergen triggers for those in your household, so keeping your home as dust-free as possible is important. It’s a simple matter to dust a surface, but another one entirely to do it thoroughly and to remove dust from those hard-to-reach areas. Sometimes, our dusting efforts actually create more problems, as we might simply put the dust in the air or just move it around. Here are a few best practices to consider. As you work, think of your own lungs and perhaps wear a mask appropriate for dusting. If you have allergies, this is very important. Tip #1: To keep dust in its place, start at the top of a room and work your way down. Top to bottom. If you don’t collect all the dust with the cleaning cloth you are using, it should fall down, and you can get it as you keep working. Tip #2: It’s always best to use a moistened cloth rather than a dry cloth, if the surface can be cleaned with moisture. This way you easily collect the dust as you work. Turn the cloth over or rinse it out often. You want to remove dust, not redistribute it. Tip #3: For hard-to-reach areas, many might just skip cleaning. Don’t do that. Think smart. You can use long-handled dusters that collect dust and don’t sweep it away. You can use flat-mop type dusters for the sides of appliances. Also, think about vacuums with attachments to suck up the dust under furniture or behind heavy items that can’t easily be moved. Of course, the best option is to call your favorite cleaning company and let them handle the entire job, giving you time to do something you enjoy. After all, it pays to call a pro! Wonderful Wood Floors
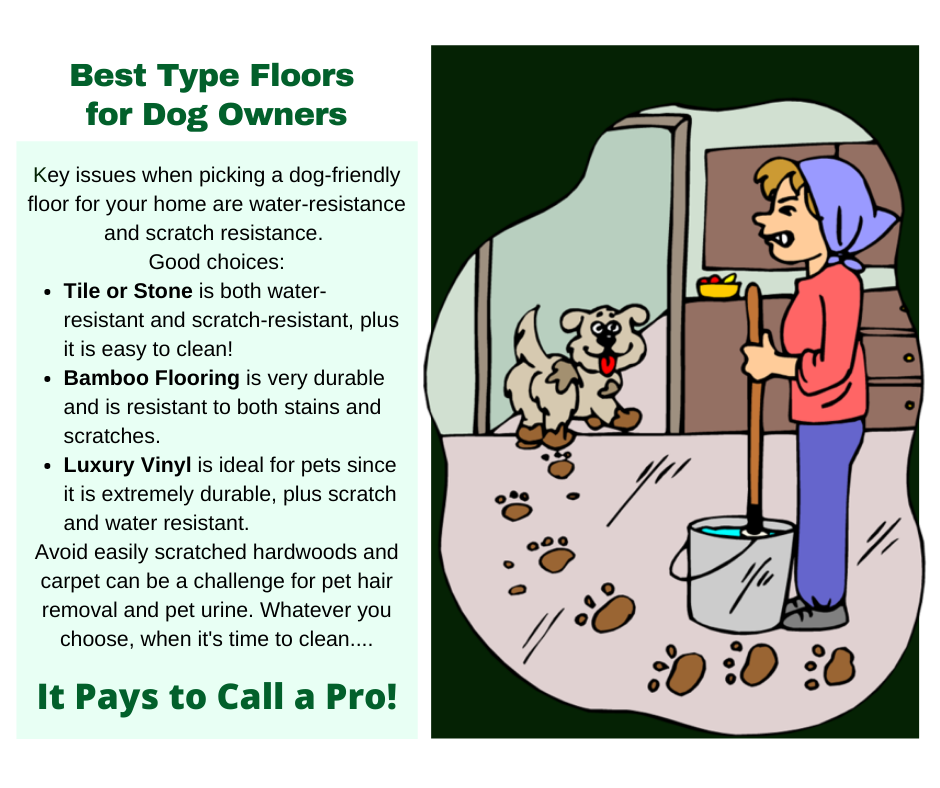
Cleaning and maintaining hard surfaces is a task that can really enhance the appearance and value of your home. While most hard floors respond well to routine cleaning and maintenance, there are still challenges inherent with natural wood flooring materials that require your special attention. The first challenge is a gritty one. Speaking of soil, of course. Any type of soil on a surface acts as a natural “sandpaper” and slowly but surely damages the surface as it is walked on. This can happen to carpet and hard floors, but it’s the appearance of hard floors that will show the damage. Imagine putting some sand on plexiglass and walking on it for a long period of time. The surface is going to get scratched and you will see it. The same is true of hard floors. Carpet may hide the issue to some degree — hard floors do not. The key to protecting your wonderful wood floors is daily maintenance. Don’t let a day go by without sweeping or, even better, using a dust mop on the floor. It doesn’t take long to do this, just a few minutes, but keeping that gritty soil off the floor will protect it. Choose a quality dust mop wide enough to make quick work of the chore, but not too wide that you can’t get into tight areas or corners. There are special vacuum cleaners for hard surfaces that work great as well. At least once a week, completely clean your wood floors. This means after removing the dry, gritty soil, deep clean the floor with warm detergent solution. Choose a detergent for your type of floor. A quick online search should provide you with the best product type. Keep moisture to a minimum but enough to dampen the floor as you clean it, removing oils and contaminants as you work. Rinse out and repeat several times until you are confident your wood floors are “squeaky clean.” When you come across specks or soils that stick to the floor, scrape them off with your fingernail or a sharp blade, but be careful not to scratch the floor. Of course, the best way to care for your wood floors is to use experts who know exactly how to maintain them. Contact your favorite cleaning company today. After all, it pays to call a pro! |

 RSS Feed
|
|
Would you like to get your own OutPost Site? Cleaning and restoration firms who are MarketingZoo.com members get
|
CleaningOutpost.com Directory of Cleaning & Restoration Businesses is a service offered by MarketingZoo.com
Copyright 2015 Thinkshortcut Publishing, LLC
Copyright 2015 Thinkshortcut Publishing, LLC