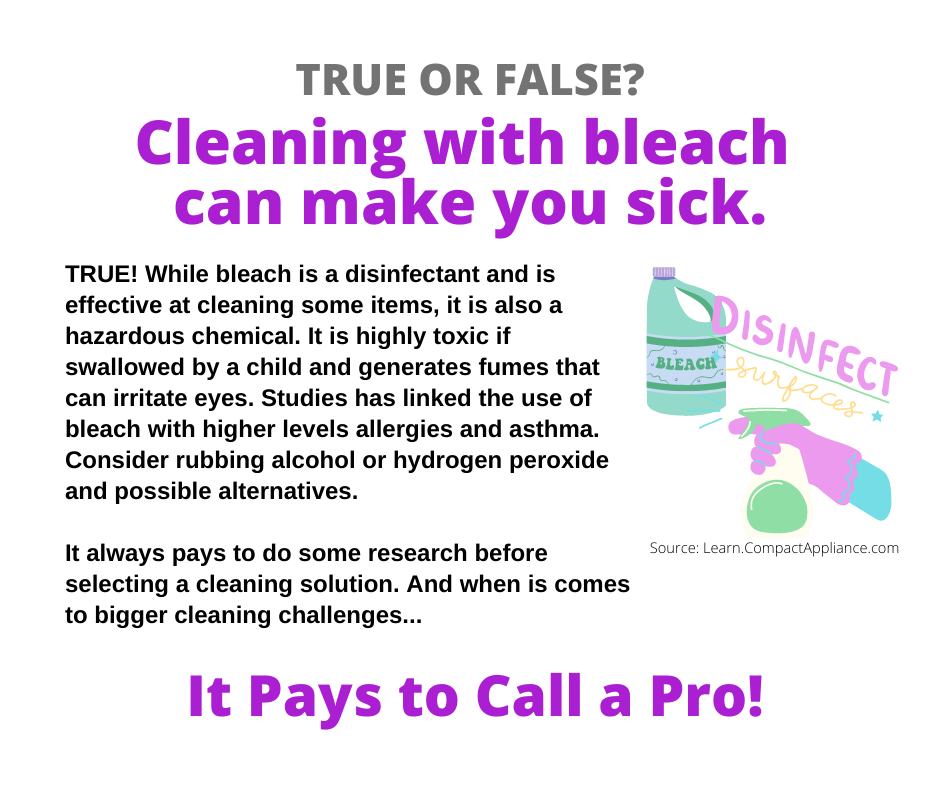
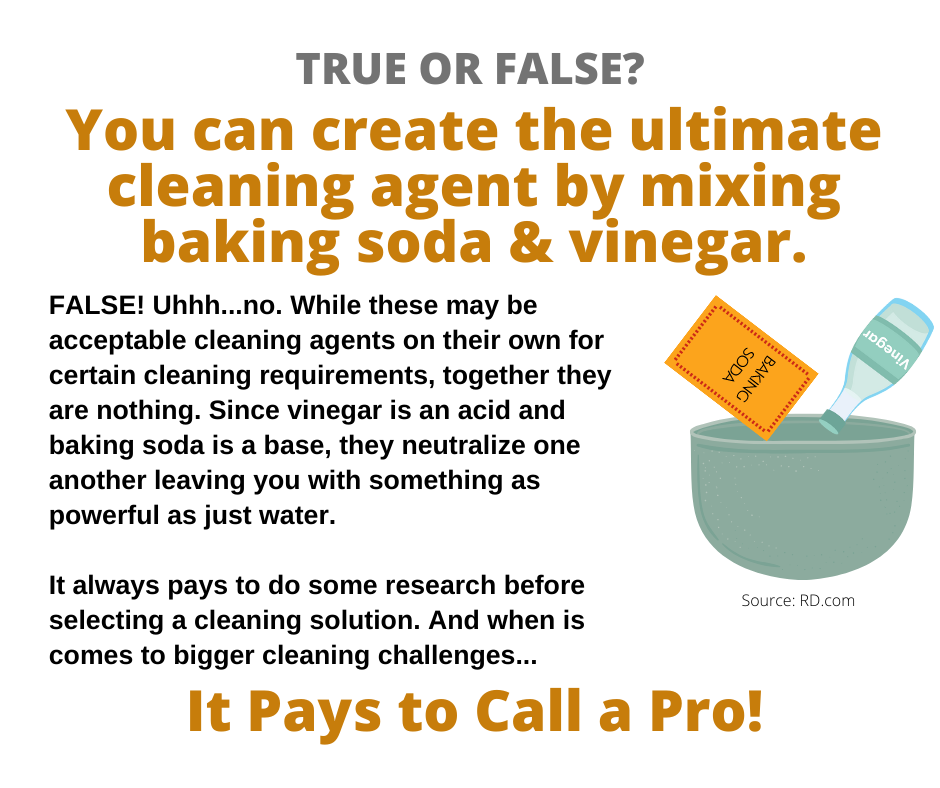
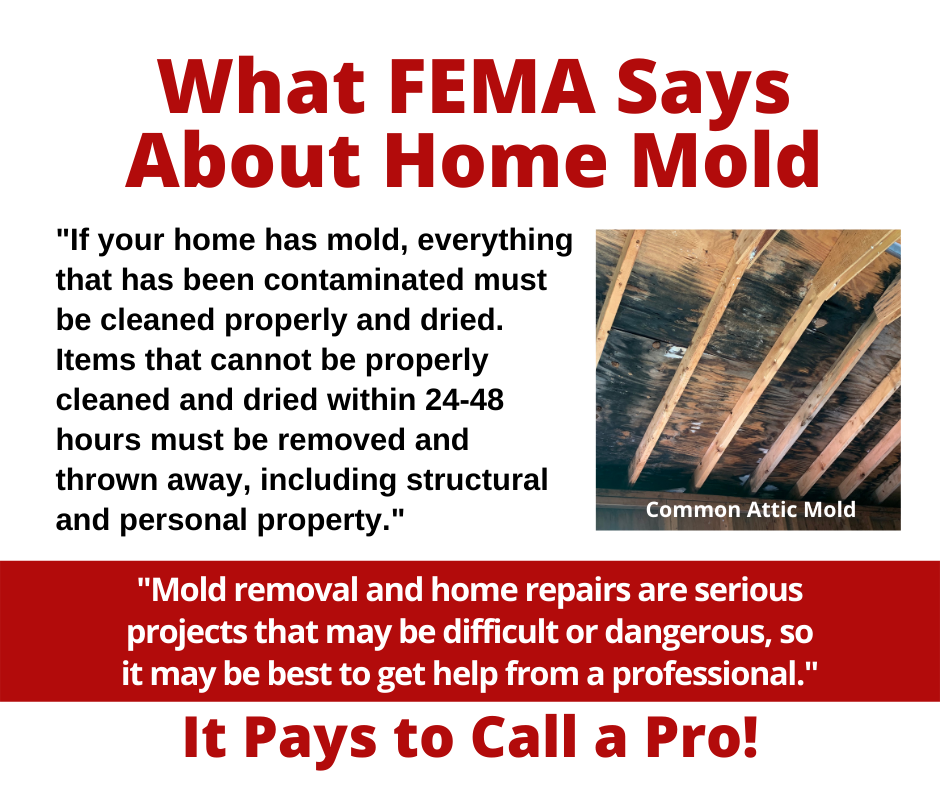
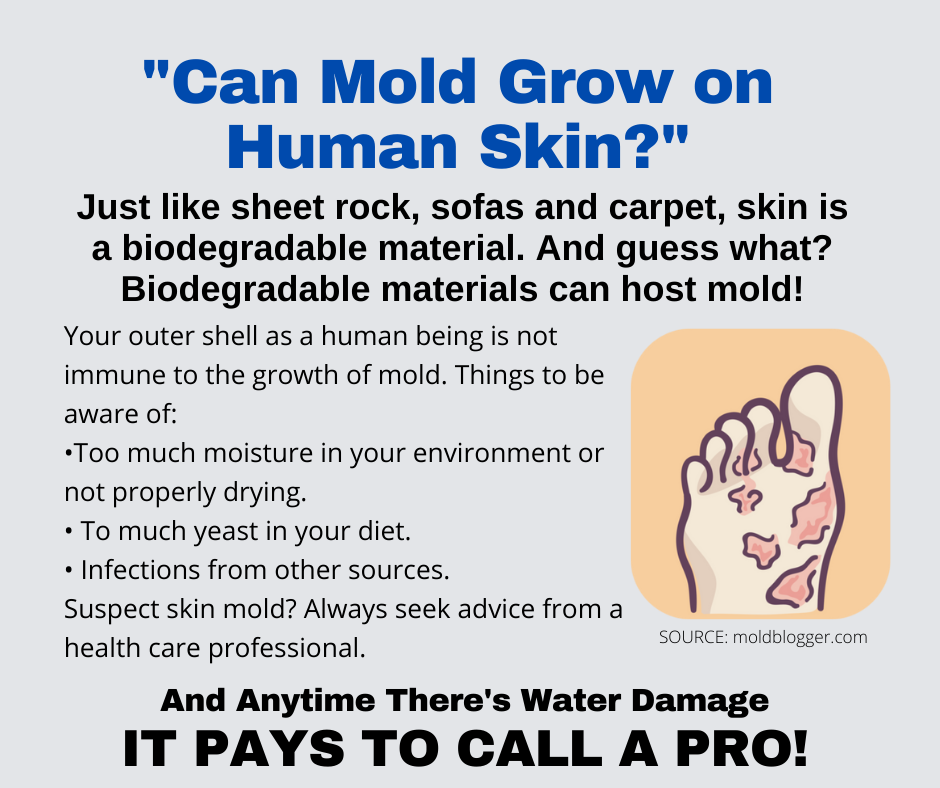
|
Unplugging the Showerhead
Isn’t a nice, hot shower a wonderful thing? Whether you get up in the morning and shower to prepare for the morning or stand under the hot welcoming spray at the end of a long day at work… a shower can not only clean but also refresh. But then, over time, the shower experience starts to fade. You aren’t sure why. You use the same shampoo. The water still seems hot, the exact temperature you like. Then… you figure it out. The water just isn’t coming out of the showerhead like it used to? That’s right. Your showerhead has an issue. Something is wrong. The water flow just isn’t there like in the past. Showerheads have small holes in them that create those tiny strong streams of water. We know this. We also know that when you plug a hole, nothing comes out. With showerheads, it’s not like all the holes get plugged up at once. It happens over time. Mineral deposits natural in all water just builds up. Here's how you fix this issue. If you have a smaller profile showerhead, some have found a really easy way to do this. Simply get a small bowl of white vinegar and hold it up and immerse the showerhead in the liquid. You will have to hold this pose for a while, several minutes at minimum. Since some clogs are at the tips of the showerhead holes, the vinegar just might dissolve the minerals. It can’t hurt to try this method. All you are looking to do is dissolve the minerals, and vinegar as an acid solution will do it. If that doesn’t work, it’s time to take things apart. Using the proper tools, which may include a wrench or pliers, and be sure not to scratch any of the finish on the showerhead, remove it from the pipe. Take it all apart. There should be parts inside, such as a small filter. Get it all apart and then soak it all in a vinegar solution. Give it plenty of time, and since you aren’t holding a bowl awkwardly above your head, maybe a couple of hours. Before, during, and after this process, inspect the holes. You may need to poke them with a safety pin, to help physically remove some of the deposits. If vinegar doesn’t work, a stronger solution made for removing mineral deposits can be used but be sure to wear safety gloves and eye protection if you do this. The same procedures can be followed as already detailed. Of course, for all your cleaning needs and advice, do the right thing. Call your favorite cleaning company. After all, it pays to call a pro! Cleaning and Removing Pet Urine
They say that a dog is man’s best friend, but really, any pet you choose to adopt into your family can be your best friend. It can be a dog, cat, turtle, dinosaur, a bird. A pet is a pet. Just kidding about the dinosaur; we all know they are too expensive to feed. While you want your pets to behave, be a good family member, they have the occasional (hopefully not that often) accidents. Yes, we are speaking of when they pee on the floor. And mainly dogs and cats. The “accidents” can occur for a variety of reasons. It could be a pet is sick, or left alone too long, or is mad because you didn’t give them their favorite treat. A host of reasons. The bottom line, though, is you have a mess to clean up. It could be a small mess, or a big one, depending on the size of your pet. The first thing to do is act quickly. A pet accident on a hard surface is one thing, easy to wipe up, clean, and disinfect. A pet accident on a carpeted surface is something else altogether. This tip will concentrate on soft surfaces, such as carpet. When a pet accident does occur, it’s important to remove as much as possible right away. Using only white paper or cloth disposable towels, blot the area until no more moisture transfers. If you have a wet/dry vacuum and don’t mind using it for this chore, vacuuming up the offending mess is a great way to remove most of the contaminant. Next you need to clean the area. It’s always best to use a cleaning product you get from your favorite cleaning company, or something approved for cleaning spots on carpet. Apply the solution sparingly, work it in, and use an absorbent towel or the wet/dry vacuum to pick it up. Repeat several times, flushing out the area. If you don’t get all the urine out of the carpet, and remember the urine can be in the padding, the odors may become strong, and your pet will know what’s there and return to it — it’s possible. While you may attempt all this and even be successful at times, there’s just one way to guarantee the best removal of pet spots, stains, and odors. Call your favorite cleaning company. After all, it pays to call a pro! Homeowner Beware: Major Causes of Home Fires
Any type of disaster in your home is devastating. Whether a flooded basement, strong wind that tears off part of your roof, a broke pipe spewing water all over the place, the resulting damage and cost of repair and remediation can be very costly. Besides total destruction of your home, such as from a hurricane or tornado, a house fire is at the top of the list of devastation. A house fire can be limited to just one area, or it can also destroy your entire home. Even a small house fire is extremely difficult to deal with and repair. The best strategy is to avoid them at all costs and understanding what causes most fires in the home is the first step. If you know what is most dangerous, you can plan to avoid dangerous situations. In the United States, according to the National Fire Protection Association, the #1 cause of a house fire is cooking. It is the most common and includes personal injury as well. Cooking represents nearly half of all home fires, and 20 percent of home fire deaths. This might give you a sobering pause the next time you cook up a big meal. When you plan to work in the kitchen, make sure open flames are kept to a minimum and flammables are nowhere near them. Don’t leave anything cooking in a pot unattended. And be sure to have the proper fire extinguisher handy. The NFPA indicates the second cause of home fires is from your heating system. Trying to stay warm in colder weather accounted for nearly 50,000 fires annually during the period of 2014-2018. Be sure that your heating equipment, whether installed or portable, is always in good shape and you follow manufacturer directions. Proper inspections and safety checks are a must. The third most common cause of house fires is due to electrical issues. Expert sources report close to 50,000 home electrical fires occur each year, mostly due to wiring, lighting, cords, and plug failure. Simply inspecting, replacing, and using proper equipment could mean avoiding a dangerous fire. Too many of us use shortcuts (improper extension cords, electrical tape to fix a cut in a cord, etc.) when using electricity. Those are the top three causes of house fires. There are many more. Be aware of them and be smart. Prevent them from happening in the first place. But if the unthinkable does happen, do the right thing to fix it all. Call your favorite restoration company. After all, it pays to call a pro! Mold Season + Exterior Surfaces
Most think of mold inside the home as a big problem — and it is. But what about that mold that grows on the outside of your home, such as on vinyl siding and other surfaces? While not as much of a health concern, it’s still a nuisance that must be handled. Mold typically does not grow on clean, dry surfaces. And most materials, such as the plastic construction materials used on homes, is not a food source for mold. So why does it grow? Because of the dirt, soil, grime, and other organic matter that builds up on surfaces. While your vinyl siding may be vertical, it still gets dirty, and mold will grab onto that and grow like wildfire. And when there are trees and vegetation around your home, they release particles that attach to exterior surfaces and that just makes the problem worse. The solution? Cleaning. Keeping surfaces clean, physically removing both molds and their food sources, is the best way to keep your home looking good. While the solution seems simple, unless you have a ranch-style home, reaching all those high surfaces is not easy. You will need ladders, extension poles, and plenty of safety gear. If you have all that, and are ready to get to work, here are a few tips. Get a good scrub brush, something you can put on a pole, and something that will scrub the surface but not scratch it. Softer nylon bristles are great. Have plenty of garden hose available, with a concentrated spray nozzle. A large bucket, a pump-up sprayer, or a sprayer assembly that you can put liquid cleaning products in, one that automatically dilutes and applies the cleaner to your home. You need all this before you get to work. Purchase a quality exterior cleaning solution specifically for siding and removing mold. While you can create your own solution with a variety of household products (bleach, vinegar, detergent) what you find at the store is not expensive. Then get to work. Hopefully on a nice, sunny day. Apply your product with the hose attachment or your pump-up sprayer, allow to dwell for a few minutes. The bleach component in your solution will take time to work. Scrub the surface and spray it all off. Let it dry and inspect, repeating as necessary. Take your time, section off areas, and you will see fantastic results. But what about mold inside your home? That’s a different problem altogether. When you see mold inside, contact your favorite disaster restoration company. After all, it pays to call a pro! Fighting Fur
If you have pets, especially cats or dogs, pet hair is a very common and frustrating issue that keeps piling up. Pun intended. It builds up fast on all surfaces, especially fabrics such as furniture and clothing. It sticks to you better than glue and follows you into your car, to work, and everywhere you go. It’s one of the parts of life we put up with because we love our pets. But there are a few things you can do to limit the amount of hair your pet sheds, and what you can do to clean it up better. Of course, the season impacts how much hair your pets shed, such as the typical spring and fall shedding seasons. Nutrition first The first, most impactful tip is to make sure you are feeding your furry friends is good food. Just like people need a solid nutritious diet, so do your pets. Your vet will have plenty to say on this, such as food products that are high in vitamins, minerals, and the proper amount of protein. You can also do some research online and find quality pet food that has supporting reviews. Better diet = less shedding = happier you. Brushing and grooming This is a no-brainer, right? The more you brush and groom your pet, the more hair you remove and put in the trash can and the less that ends up on flooring, clothing, furniture, and other surfaces. But besides being good for removing hair, it helps their skin and circulation. Purchase a quality brush designed for quality grooming — and hair collecting as well. Cleaning up The most important part of cleaning pet hair from a home is to do it regularly. Have a schedule. Frequent vacuuming of all surfaces, including furniture, will help keep the hair from building up to massive proportions. A quality vacuum with a beater bar is best, and a hand-held version with a beater bar will help with furniture and stairs. Lint rollers, special hair removing brushes, and other tools may help, but nothing beats a good, regular vacuuming of your home. For quick work in a pinch, using a wet rubber glove to wipe surfaces and grab hair works great. Some even use tape, such as the life-saving duct tape version, to remove hair from surfaces that just don’t want to give up their grip. Of course, the absolute best way to keep your home really clean is to use a professional cleaning service. After all, it pays to call a pro! How to Shut Off Your Water in an Emergency
There’s nothing that can get a person to move faster than to have a pipe break in a home, with water spraying everywhere, soaking everything, and ruining furnishings, flooring, documents, and more. The “moving faster” part of this unwanted exercise is often the frenzy with trying to find and turn off the water source, the main water feed into the home, and that location is usually not top-of-mind until the moment it is urgently needed. Turning a valve off and saving your home is a simple concept, but if you don’t know where to find that valve, extensive damage will occur. With most properties in warm climates, the main valves are often outside, easy to access. But in colder climates, those valves are inside, either in a basement if the home has one, or in a utility area, out of the way. And often, none of them are marked. In addition to the typical shut-off valves, most homes have a main valve in the yard, an underground area with a cover that can be removed and give you access to it. Sometimes a special tool is needed to operate the valve. But if you own a typical home with a basement, you have an advantage. The main shut-off valve is most often found near the front, on or near the wall closest to the street, where the water feeds into the home. If you have a private well, it should be on the side of the well, on that wall. If the valve isn’t on that type of wall, it may be near the furnace or water heater. If you have a crawlspace, you may have a disadvantage. The valve may be in there, in that tight space that is usually full of cobwebs and dirt. You might have to go in there to reach the valve. But make sure it is in there; do that right now, so you aren’t trying to reach a valve that turns out isn’t in there at all. When you do find the valve, you have to turn it. Turn clockwise, like when putting a screw into a board or a lid onto a jar. The valve may be rusty, difficult to turn. Lack of use makes the task more difficult. You can use a wrench to do it but be careful not to break the handle of the valve. If, or more precisely, when a pipe breaks and you have resulting water damage, do the right thing. Contact your favorite disaster restoration company. After all, it pays to call a pro! 6 Items Many Neglect to Replace
Do you have the tendency to collect items, never letting them go? Or maybe you tend to get as much use out of items as you can, keeping them longer than perhaps recommended, before replacing them? No one wants to be wasteful, yet there are many items you use that should be replaced on a regular basis, on a schedule. While there could be dozens of items like this, today we will concentrate on just six everyday items that need to be regularly replenished, for a variety of reasons. Sponges Sponges are great tools we use for cleaning surfaces, and some of those surfaces can be quite germy. While the appearance of your sponge may be acceptable, you should replace it every 3-4 weeks. Toothbrushes Advice for changing your toothbrush comes from a solid source. According to the Centers for Disease Control and Prevention (CDC), replace your toothbrush every three to four months. If you use a battery powered toothbrush, you should change the bristles on a similar basis. Toilet brush You use these to clean toilets. Enough said. Change them every six months, or even more often in a busy household. Water filters Filters that supply your drinking water can be found attached to your water spigots, and in your refrigerator, among other uses. Most manufacturers recommend replacing filters every six months. While some can taste the change in water when a filter is dirty and not effective, don’t base frequency on this. Follow a schedule. Pillows Pillows are meant to be comfortable and usually used just by you, but they are also a reservoir of dead skin, hair, and other potential contaminants. Replace them every one to two years, even if you really love your pillow. Fire extinguishers This is a no-joke type of monitoring and replacement because a fire extinguisher is meant to save your life. It is recommended to change them every 12 years, and recharge them halfway through their life. Keep an eye on the pressure, making sure it isn’t losing strength as it sits unused, which is how you want fire extinguishers to exist. Never used. Replacing items that can go bad, or have expired, is an act of cleaning, tidying things up, keeping your home in optimal operating condition. And when it comes to cleaning, you can get excellent advice from your favorite cleaning company. After all, it pays to call a pro! |


 RSS Feed
|
|
Would you like to get your own OutPost Site? Cleaning and restoration firms who are MarketingZoo.com members get
|
CleaningOutpost.com Directory of Cleaning & Restoration Businesses is a service offered by MarketingZoo.com
Copyright 2015 Thinkshortcut Publishing, LLC
Copyright 2015 Thinkshortcut Publishing, LLC